 |
| Photo: Gary J. Helriegel © 2011 |
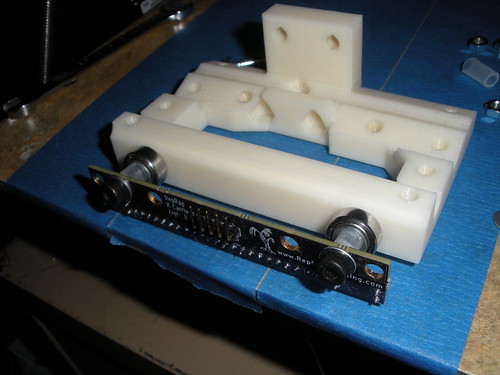
Monday, March 28, 2011
An Assembled Offspring
I have not had reports back about most of the part sets that I have made, however here is a set, Prusa #4, that has been assembled and is already printing upgrades and things.
Gary, thank you for sharing your picture and I look forward to seeing more prints in the future.
Tuesday, March 15, 2011
A new species is born!
We would like to share something we made:
Stay tuned for more details...
Patrick Hannan, Jared Knutzen, Nicholas C Lewis, Joy Markham
AdderFab
ME495 - University of Washington
March 9, 2011
Open3DP
ME495 - University of Washington
March 9, 2011
Open3DP
Stay tuned for more details...
Monday, March 7, 2011
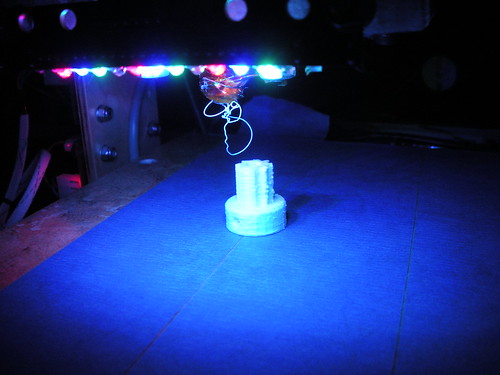
Light Bar Assembly Instructions
I am getting ready to sell a few of my new RepRap light bar kits and am providing assembly instructions here:
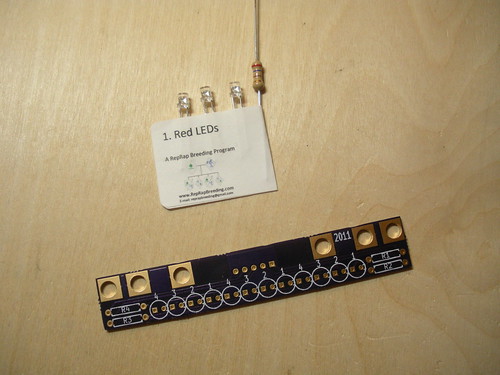
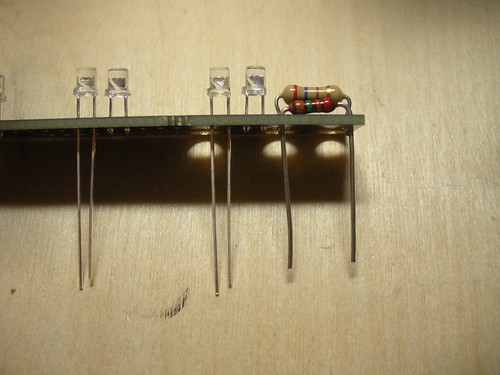
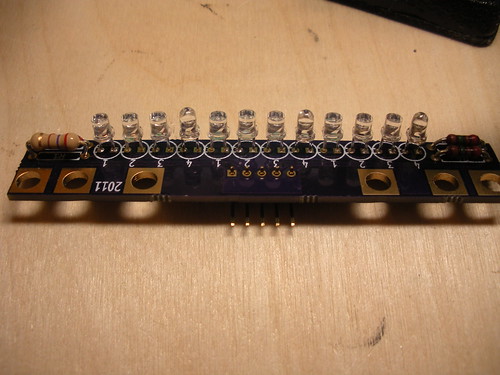
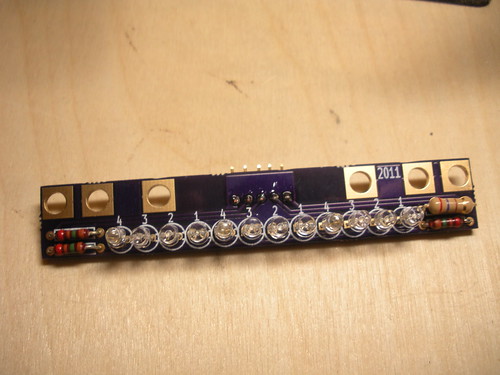
First verify you have all the parts:

The Red LEDs have a different resistor value than the rest. Ensure that this resistor stays with the Red LEDs.
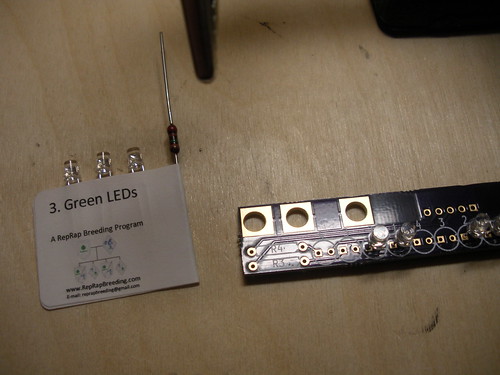
Take the Red LEDs and resistor and bend the resistor leads to fit the holes on the PCB. The Red LEDs go in the spots marked "1" with the long LED leads going to the square shaped pads. The resistor goes in the spot marked "R1."
Solder them in place:
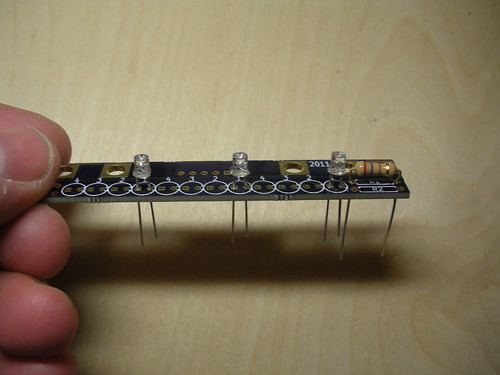
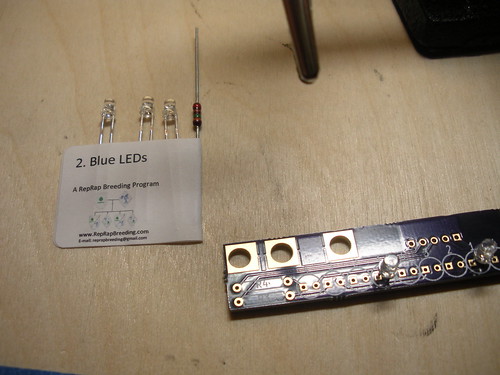
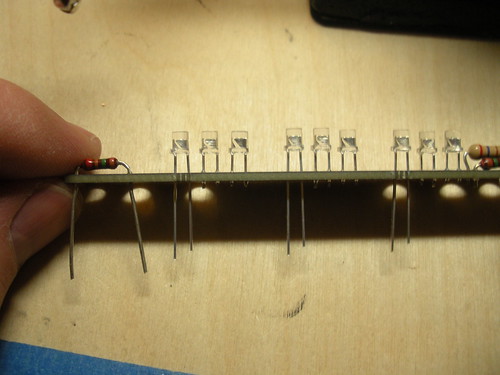
Repeat this for the remaining LEDs taking care to do them one color at a time to avoid mixing up the LEDs. They each have a number on the label that matches a number on the PCB.
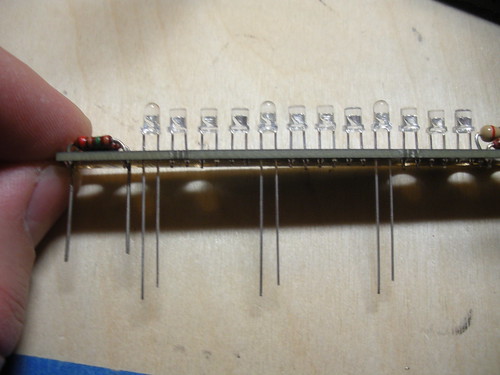
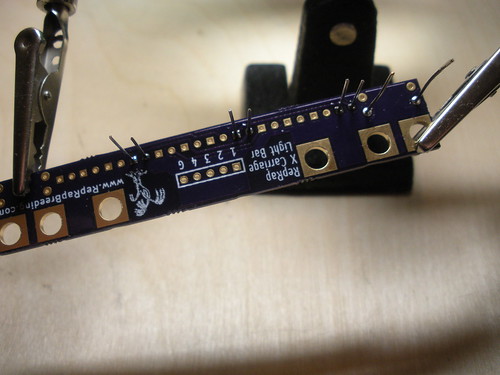
On the opposite side of the board place the 5 pin right angle header
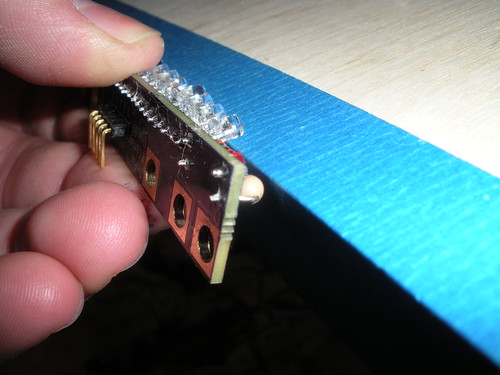
Then using the edge of a table or other flat object gently bend all the LEDs down to a 30-45° angle (The exact angle will depend on your carriage and hot end, so bend them to optimize the light on your print area.)
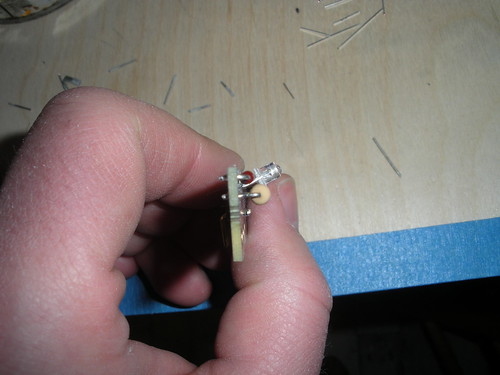
Mount it to your carriage connect the "G" pin to ground and the "1"-"4" pins to switched 12V (1 is Red, etc...).
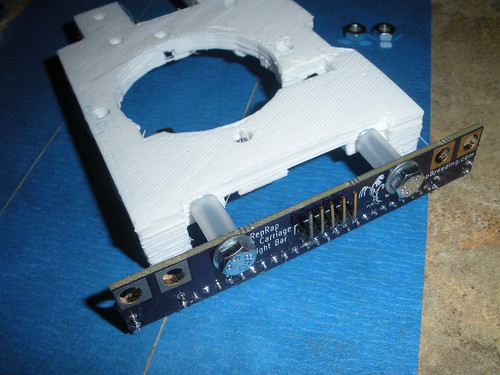
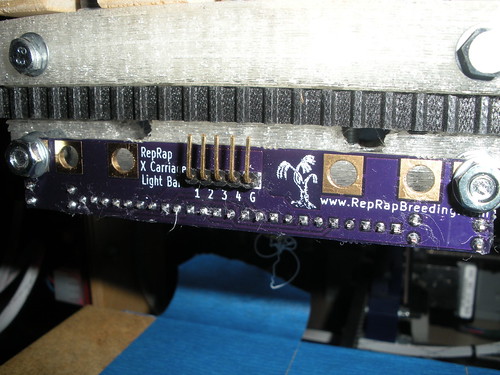
More pictures here
First verify you have all the parts:
The Red LEDs have a different resistor value than the rest. Ensure that this resistor stays with the Red LEDs.
Take the Red LEDs and resistor and bend the resistor leads to fit the holes on the PCB. The Red LEDs go in the spots marked "1" with the long LED leads going to the square shaped pads. The resistor goes in the spot marked "R1."
Solder them in place:
Repeat this for the remaining LEDs taking care to do them one color at a time to avoid mixing up the LEDs. They each have a number on the label that matches a number on the PCB.
On the opposite side of the board place the 5 pin right angle header
Then using the edge of a table or other flat object gently bend all the LEDs down to a 30-45° angle (The exact angle will depend on your carriage and hot end, so bend them to optimize the light on your print area.)
Mount it to your carriage connect the "G" pin to ground and the "1"-"4" pins to switched 12V (1 is Red, etc...).
More pictures here
Subscribe to:
Posts (Atom)


