Returning to some of the final build steps, I will now talk a little about the main frame.
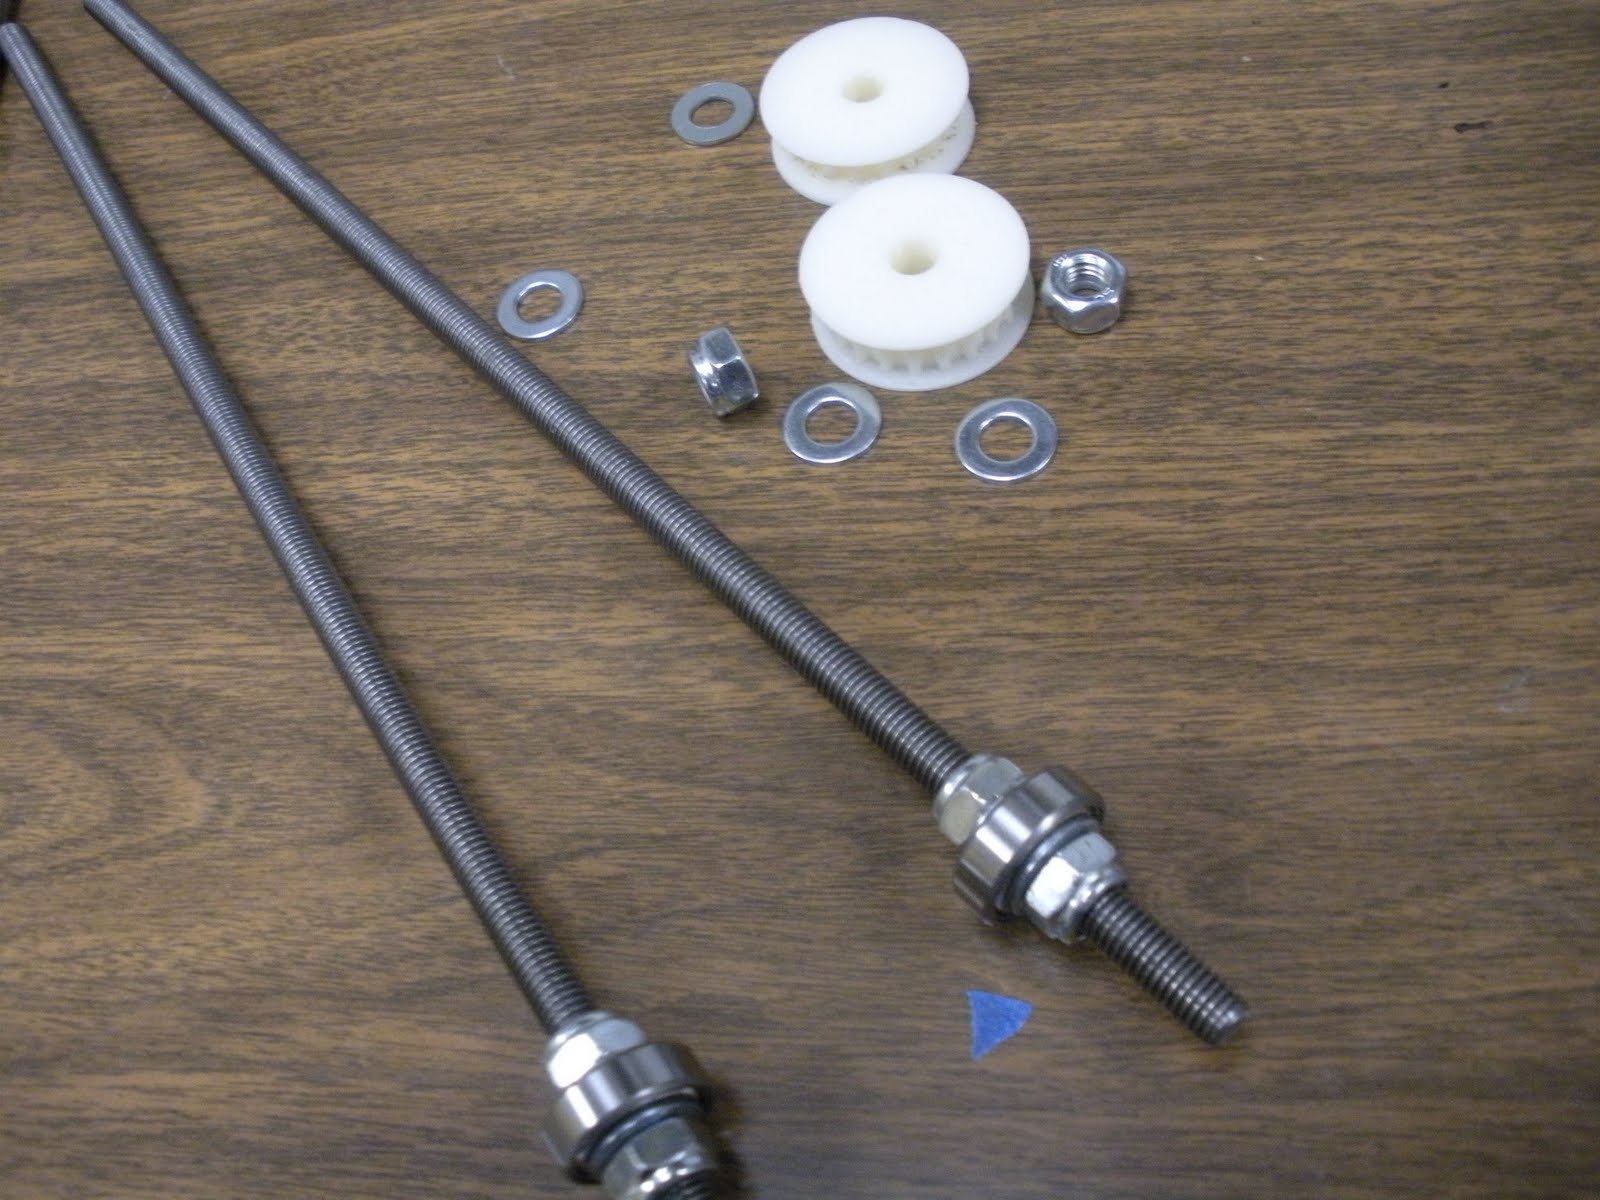
For the frame rods I used all nylocks instead of the non-nylocks that the directions called for. The main challenge here was running them on, which was accomplished with the assistance of a power drill.
The rod was chucked up in the drill and the nut started on the end. Then with a box wrench on the nut the drill was spun to drive the nut on. The final adjustments were done by hand, but all the nuts were run close to there final places first.
The major change, besides the nylocks, was using Vik'
s "Footed Parametric Frame Vertex" The other change visible here is the modified z-axis lead screw bases I have already talked about.
Since I had changed some of the dimensions I determined the best way to locate the lead screw bases was by marking the center and lining that up with the center of the opening.
I then verified that both frames lined up and were flat.
I then assembled the cross bars. The one thing I would do more carefully next time would be to measure the locations of the nuts more carefully for the initial setting with the drill. I did not get them as close as I could have which made more work later.
Then I assembled the bulk of the frame.
Next came the X-axis assembly.
And the lead screws.
The lead screws, bearing rods and x-axis all must go in at the same time.
Next came the y-axis bearing rods.
I used a m4x20 bolt to help check for alignment.
Next I installed the optostops.
And finally the y-axis carriage.
The main change here was that I moved the belt splice to the bottom, for easier access. Also note the square rubber feet on the bottom of the frame vertex, and the diagonal pair of screws in the y-axis bearings instead of the four suggested.
Next time will be about Wade's extruder and the electronics.


No comments:
Post a Comment