I finally made time to pull off the old bed and drill the holes in the new tile. I always hate to mess with the printer unless it is broken, but I had waited long enough to find out how well the tile would work.
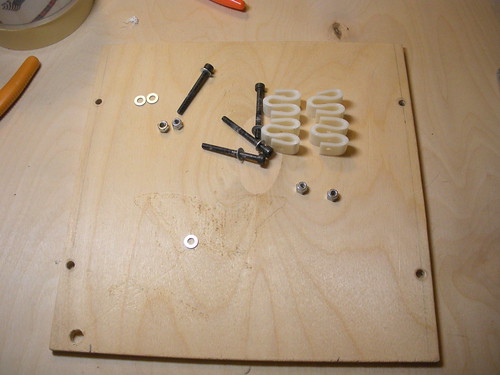
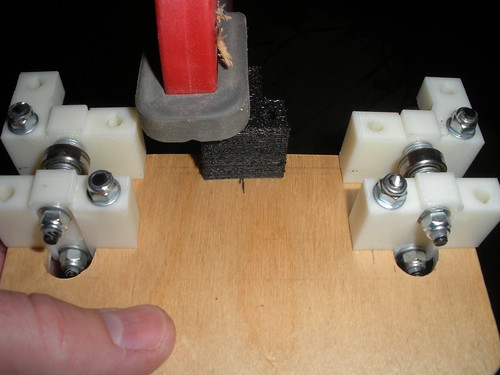
I had read some things about mounting the bed on only three points instead of four and thought that made sense. So I designed & printed a mount to attach to the froglet on the 180° side.
I then removed the bed and springs.
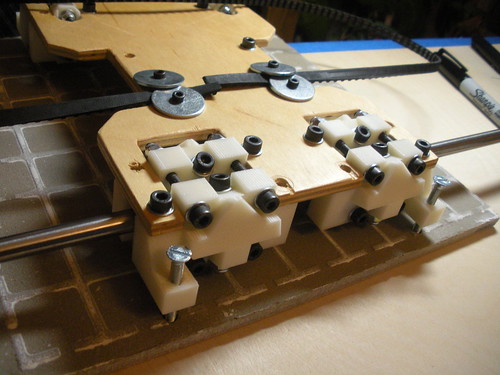
I decided that I could gain some height by cutting off the screws on the y carriage.
After blocking all the electronics I cut one screw off. I then decided that the amount of metal debris created was risky and removed the carriage to cut the remaining screws.
After cutting the screws off I drilled holes to mount the new support.
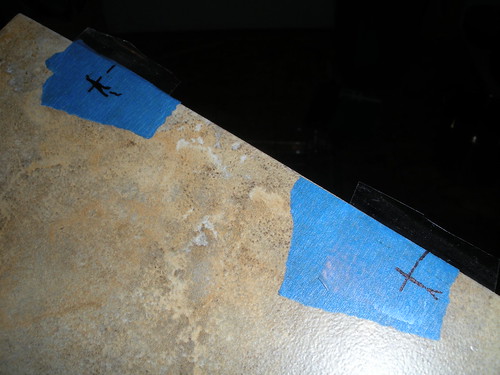
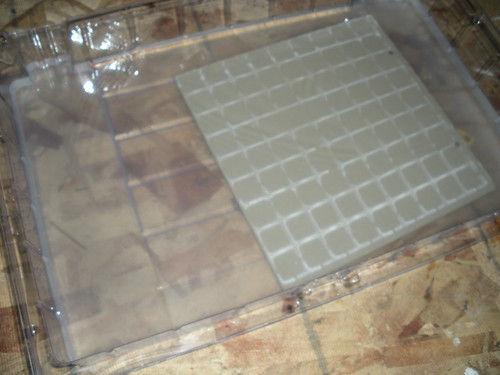
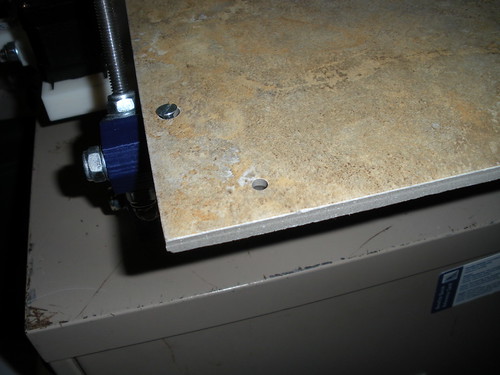
I then marked the first two hole on the tile and drilled them (under water).
I then used the first two holes to locate the third
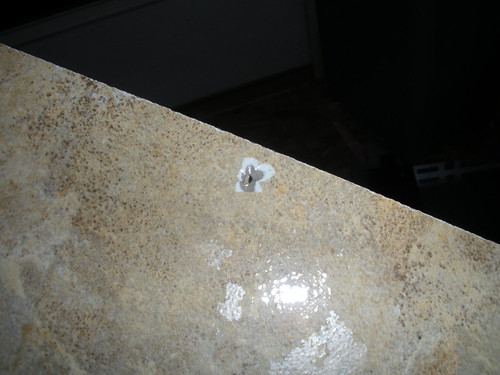
This last hole had a small amount of chip out on the top surface since I drilled it from the back. Most of this was removed when I drilled the countersink.
I then temporarily mounted the tile so I could mark and then drill the purge hole (at 0,0)
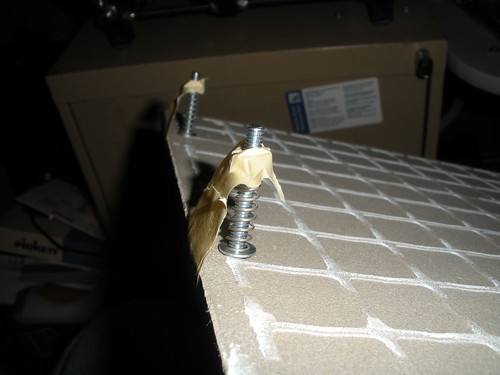
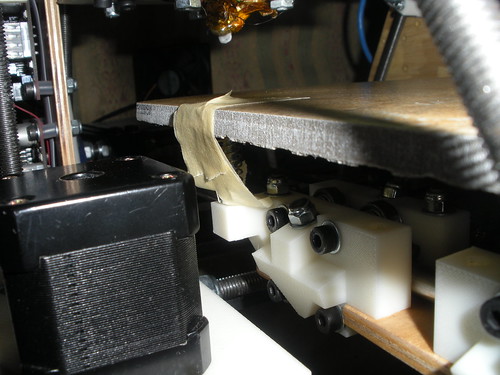
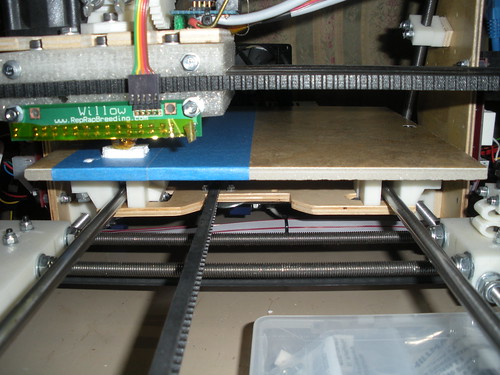
Finally, with the assistance of some tape, I mounted the bed using new springs.
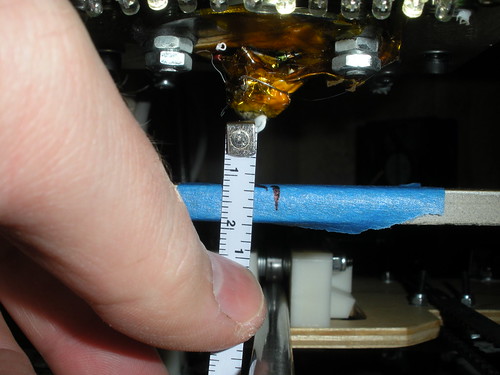
I gained almost 12mm of height:
I am printing on it right now and it is working beautifully and is overall a very good success.
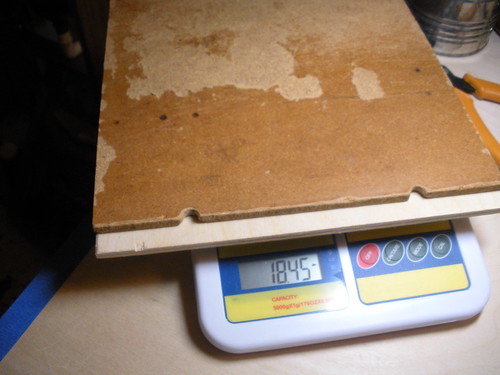
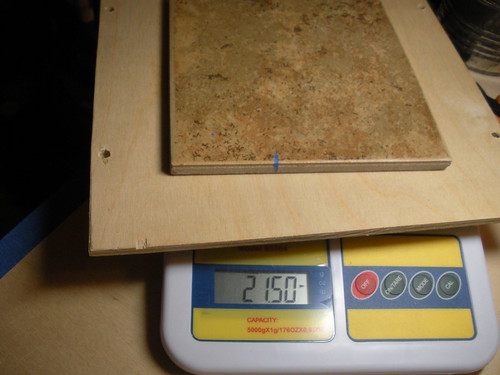
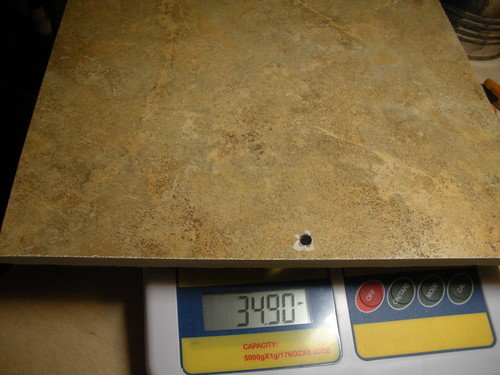
My only concerns are that the springs I am using are not quite as stiff as think I would like and I added some weight (about 13oz from where I was).
Saturday, January 29, 2011
Subscribe to:
Post Comments (Atom)





Be careful not to add too much weight to the moving parts... it creates oscillations that you see in your print. This is what encouraged me to look into other parallel kinematics setups (Mendel is also parallel, but the platform could become quite heavy).
ReplyDelete