My build began with the X-axis. The first part of that was the carriage.   The major change from the RepRap sites directions was not putting extra washers above the bearings. The directions suggest putting 5 washers there. I believe this may be to allow for a bolt that is not threaded far enough. Then the upper carriage was assembled.  |
| The other change to both of these parts was the horizontal bearing screws. The directions say to use socket head screws from the outside with non-nylock nuts trapped in the carriage. This was changed because we had surplus m4x20 hex bolts. The four bolts at angles are long and one of them interfere with the extruder. So they were trimmed using a rotary cut off wheel.     Next I assembled the 180° vertical bearing. The directions say not to use nylocks anywhere they will be trapped because they may strip the holes. This does not seem to be an issue with the part quality I am working with, so I used nylocks almost everywhere.   Then I proceeded to assemble the 360° vertical bearing.       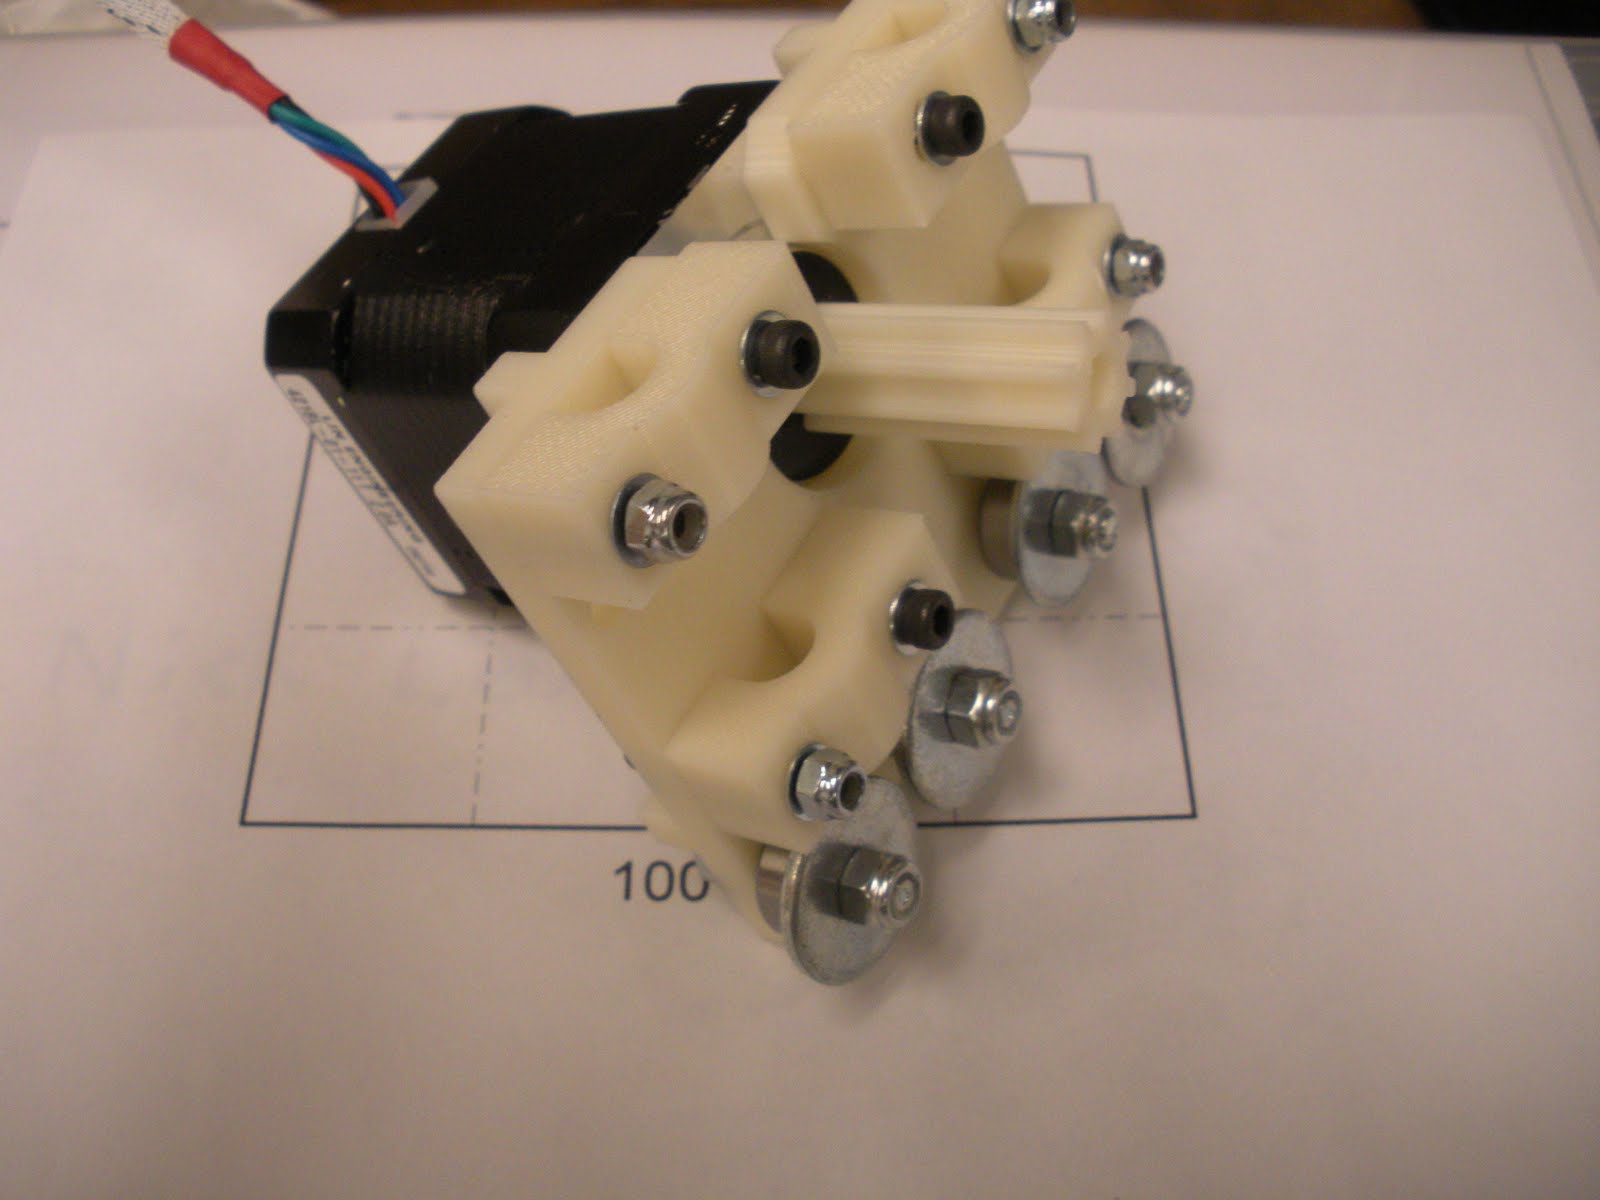 I did not assemble the separate pieces onto the rods at this time. I will do that just before I am ready to install it in the frame. Next time I will assemble the Y and Z-axis parts. |
Sunday, May 23, 2010
My Mendel Build (X-axis)
Subscribe to:
Post Comments (Atom)


No comments:
Post a Comment