I finally made time to pull off the old bed and drill the holes in the new tile. I always hate to mess with the printer unless it is broken, but I had waited long enough to find out how well the tile would work.
I had read some things about mounting the bed on only three points instead of four and thought that made sense. So I designed & printed a mount to attach to the froglet on the 180° side.
I then removed the bed and springs.
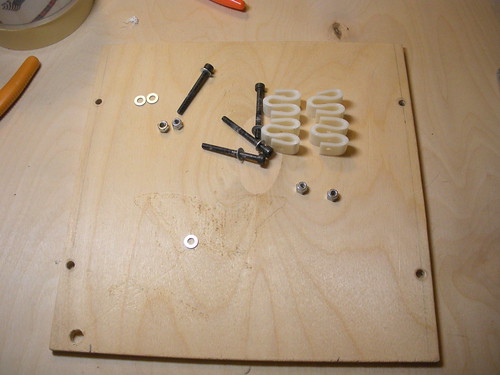
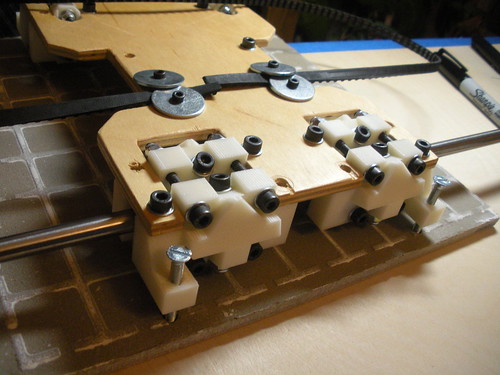
I decided that I could gain some height by cutting off the screws on the y carriage.
After blocking all the electronics I cut one screw off. I then decided that the amount of metal debris created was risky and removed the carriage to cut the remaining screws.
After cutting the screws off I drilled holes to mount the new support.
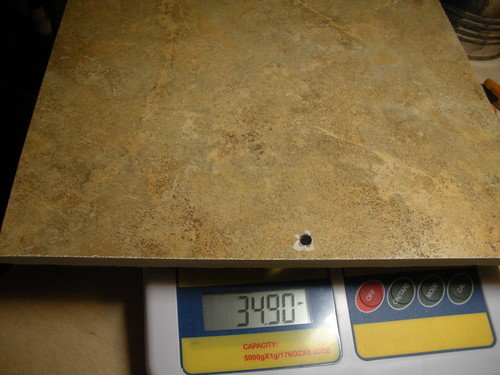
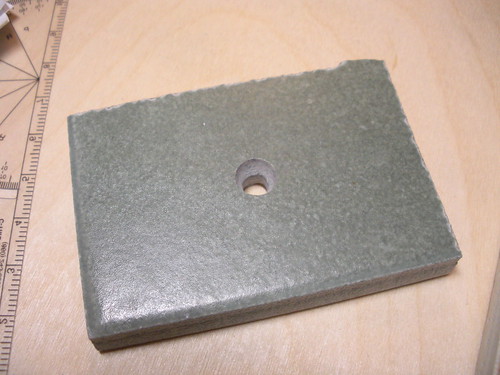
I then marked the first two hole on the tile and drilled them (under water).
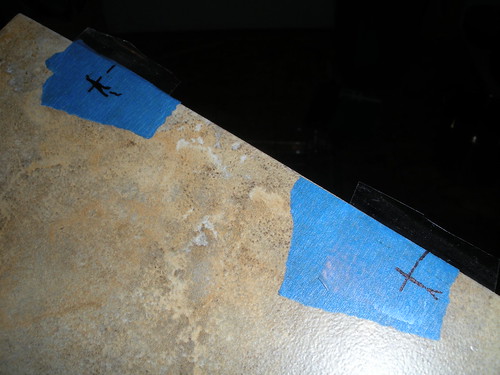
I then used the first two holes to locate the third
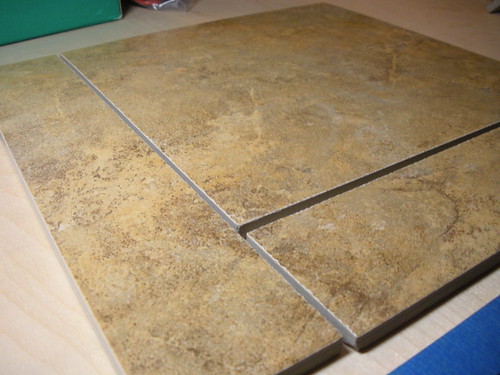
This last hole had a small amount of chip out on the top surface since I drilled it from the back. Most of this was removed when I drilled the countersink.
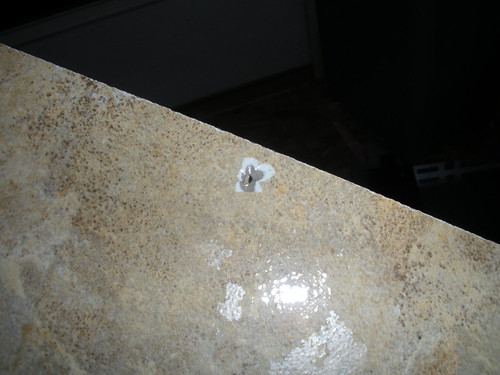
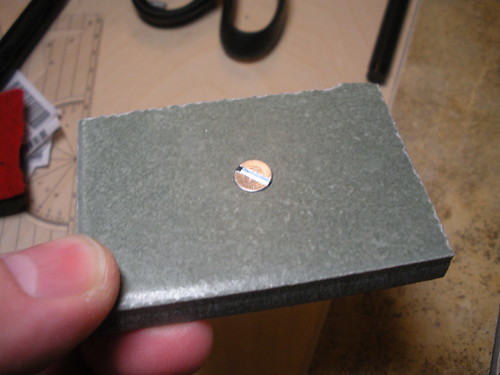
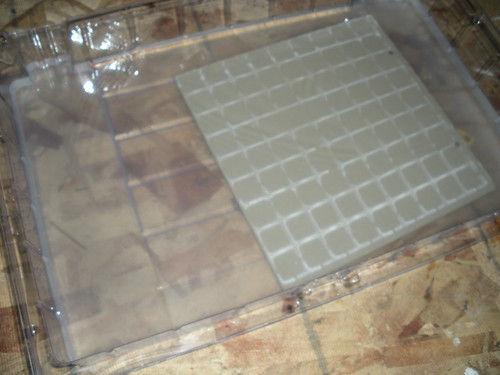
I then temporarily mounted the tile so I could mark and then drill the purge hole (at 0,0)
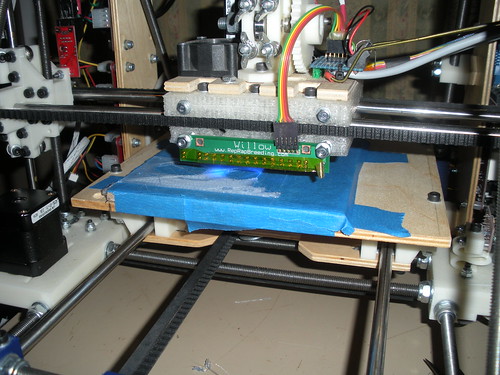
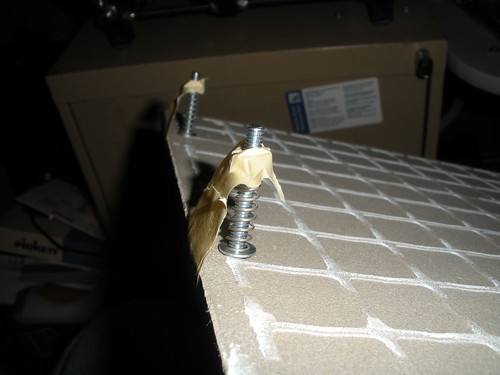
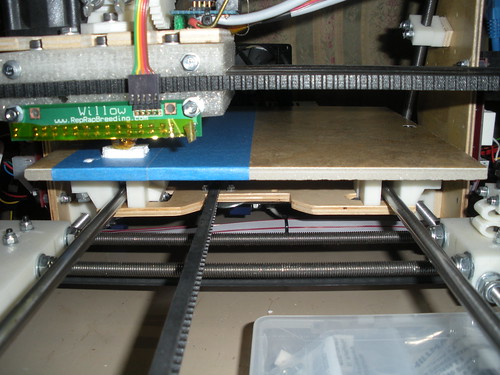
Finally, with the assistance of some tape, I mounted the bed using new springs.
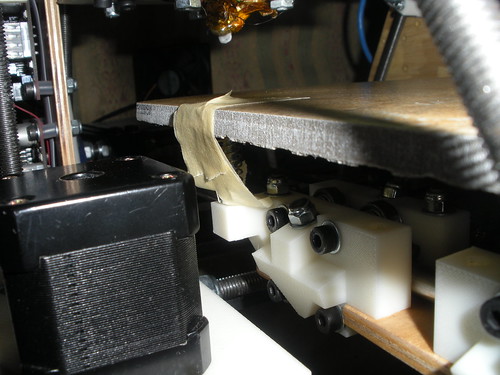
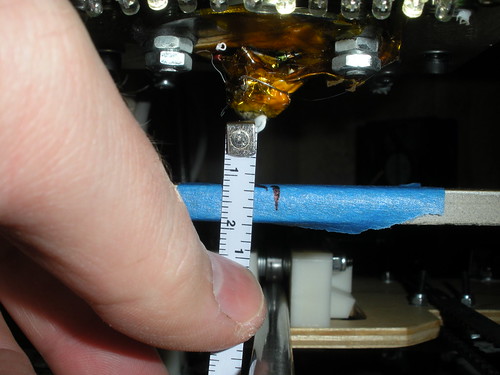
I gained almost 12mm of height:
I am printing on it right now and it is working beautifully and is overall a very good success.
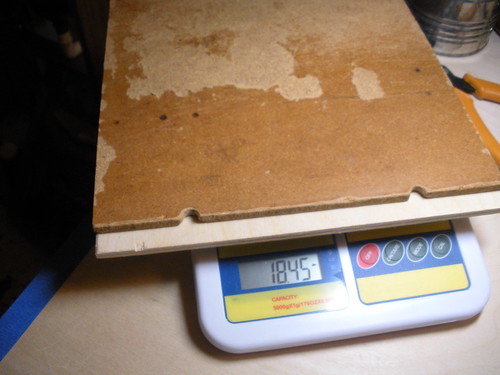
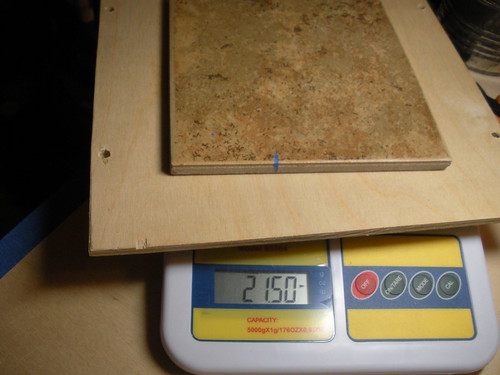
My only concerns are that the springs I am using are not quite as stiff as think I would like and I added some weight (about 13oz from where I was).
Saturday, January 29, 2011
Saturday, January 22, 2011
New light bar PCBs
After making my last light bar I had a few people ask me about buying one. So I fixed the issues I had with my first iteration of the PCB and had 3 more made using DorkbotPDX's PCB service. These boards are much nicer than the one from BatchPCB and they came faster as well (it is also cheaper if you need 3 of each board).
I love the purple solder mask and the silkscreen detail it very nice. I plan to assemble one of them to check that the changes I made to the PCB work as expected. After that I will have a production run made and have kits available to purchase.
It should now fit on a standard Mendel carriage, Rhys-Jones multi-material carriage, and a Prusa carriage.
I love the purple solder mask and the silkscreen detail it very nice. I plan to assemble one of them to check that the changes I made to the PCB work as expected. After that I will have a production run made and have kits available to purchase.
Wednesday, January 12, 2011
A Ceramic Tile Print Bed
I was using a piece of polycarbonate that was to thin and was allowing parts to warp by lifting the PC sheet slightly. When thinking about stable, flat surfaces I realized ceramic tile could be a nice surface. So I went to my local home improvement store and bought a 6"x6" tile and tried it both plain and with blue tape on it. PLA did not stick to it alone but with the tape it works very well. It is very flat and stable, with the only downside I can see being that it is a little on the heavy side.

After proving to myself that it would work I thought about options for mounting a larger tile and tested drilling and countersinking holes in a scrap piece of tile I had.


This also looks like it will work very nicely. My next step was to get a larger tile. The only problem here is that the Mendel print bed is not a standard tile size. However my local home improvement store will cut tile you buy there for free, at least small quantities, so I had them cut a 12" tile down to 9.5"x9.5" (which is a little bigger than the stock bed).

My next step is to drill the mounting holes, remove the wooden bed and mount my new tile bed. I am also thinking about adjusting the spring mount configuration to get a little more Z room and make the bed easily removable.
I may also do some testing with heating the tile as I think it would heat nicely as well.
Friday, December 31, 2010
Willow Gets Some Dental Work
I started noticing that my round holes were not quite round, so I checked my belts and determined that the X belt was a little looser than I would like. I tightened it and started printing again only to discover a horrible noise and the x motor binding and skipping. It happened at a few points across the bed but ran fine between them. I looked around for the problem, what did I mess up by tightening the belt?
It turns out all I did was make an existing problem worse. The x-axis pulley had lost a tooth. For the looks of the hole where it use to be it had been gone for awhile. (Also note the wear on the teeth from the belt...)
Which explains some other strange x-axis noise I could not place. Lesson learned "Listen to your bot!" if there is a strange noise look around more and look under things.
The easiest way to fix this, and keep my nice pulley, was to remove the pulley, flip it over, and put it back on. Easier said than done...
Once I started looking at it closer I realized why the tooth broke.
Four of the teeth are completely hollow. I am not sure what infill settings we used when printing the gears. But the 4 that are are 45° from the infill direction have none in them.
I then became concerned about my other pulleys. I checked and they all have the hollow teeth but Z and Y both have all of them still. But I will have to keep an eye on them.
How to reinforce the pulley so that it won't break again?
It turns out the holes were big enough that some of my waste PLA (0.5mm) would slip down into them.
So I cut 4 pieces, mixed up some epoxy and glued them in.
Here you can see the reinforcement PLA inside the teeth.
I then pressed the pulley back on with a bar clamp.
I then reinstalled it on Willow and re-tightened the belt.
Back in business and printing again. The x-axis is quieter now, which brings my back to "Listen to your bot!" if there is a strange noise look around and look under things.
A final thing to note is even professionally printed pulleys will eventually wear out.
Thursday, December 23, 2010
Willow gets a new light
I had a light I made using perf board that fit on the old x carriage.
Unfortunately it would not fit on my new x carriage, so I designed a board with KiCad and had it made using BatchPCB.
The idea being to have 4 different sets of 3 LEDs. I chose White, Orange, Green, and UV.
The UV is very cool with the Ultimachine Blue PLA.
Unfortunately it would not fit on my new x carriage, so I designed a board with KiCad and had it made using BatchPCB.
The idea being to have 4 different sets of 3 LEDs. I chose White, Orange, Green, and UV.
The UV is very cool with the Ultimachine Blue PLA.
I originally designed it to have the LEDs wired in parallel but after getting the boards I realized that was a bad way to drive the LEDs so I changed the board by breaking a few traces and adding a few jumpers.
Saturday, December 18, 2010
A Holiday Prusa Mendel
I found http://www.thingiverse.com/thing:5002 and the novelty of this holiday remix of the Prusa Mendel was enough for me to try printing one. Kliment is making a holiday themed build plate for each day starting on December 2nd and ending on the 24th. You can print one plate each day and will have a Prusa by Christmas.
I have pictures of all the parts I have so far here.
I like the simplicity of the Prusa but am taking a slightly different approach to RepRap simplification with my Integrated Parametric RepRap (more on that soon).
I have pictures of all the parts I have so far here.
I like the simplicity of the Prusa but am taking a slightly different approach to RepRap simplification with my Integrated Parametric RepRap (more on that soon).
Sunday, December 5, 2010
More Plastic, a Fourth offspring, and an update to IPR
I used the money I made selling my first three Mendels to buy more PLA from Ultimachine. I bought 2 rolls each of Green, Blue, White, Silver, and Black. Someone that I met at Metrix: Create Space is buying one roll of the Green from me.
Willow is happily restocked with plastic and the Green was used to finish a fourth Mendel set that will be listed on eBay in the morning.I also made some progress on my Integrated Parametric RepRap work and posted a new version of the OpenSCAD files on Thingiverse.
Subscribe to:
Posts (Atom)